
1. Activate the MusicIDB Events Calendar Plugin
From your WordPress dashboard, visit Plugins > Add New
Search for “MusicIDB Events Calendar” and install and activate the plugin.
2. Set up your MusicIDB account
Visit MusicIDB.com, and create and log in to your account.
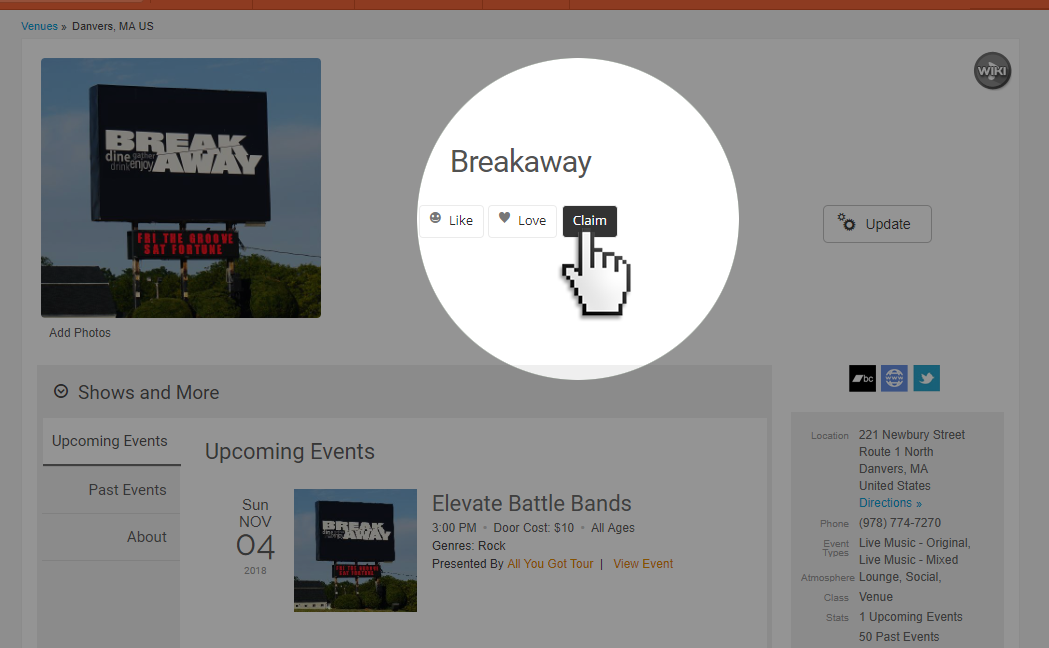
3. Ensure you have done a claim request for your venue
It is likely you did this step while registering for your account.
4. Create Upcoming Events
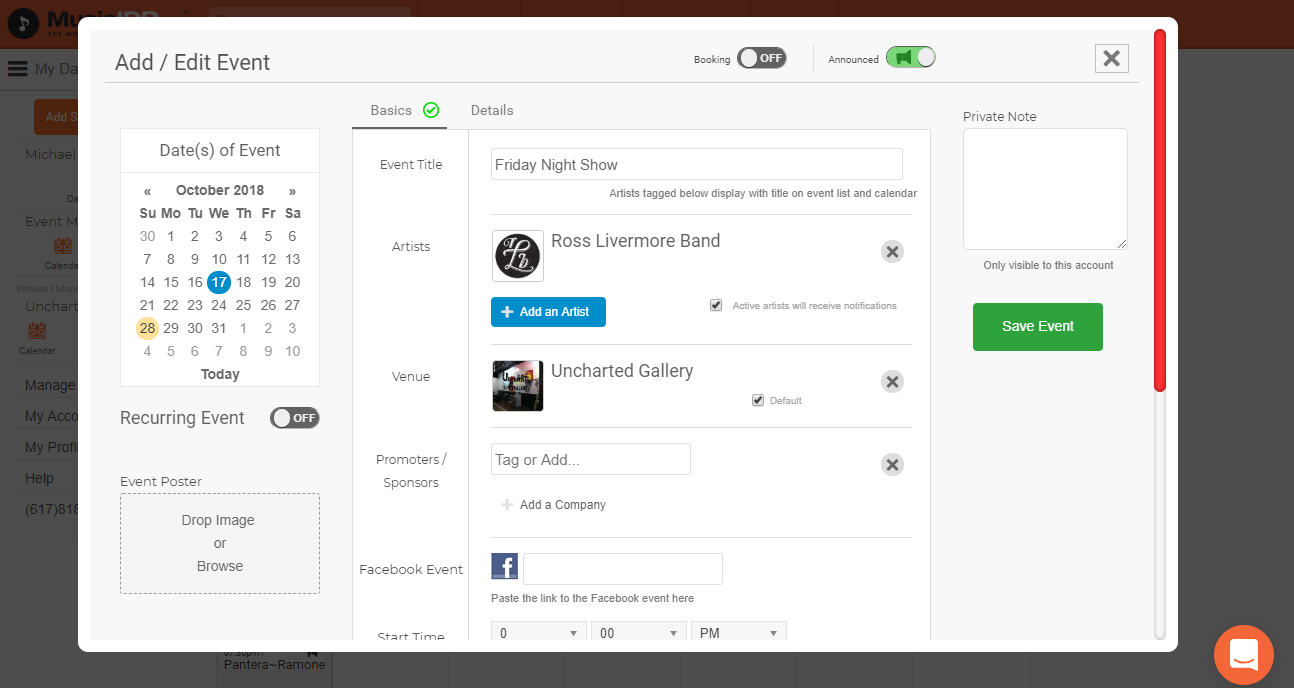
While your claim is being processed, create a few of your upcoming events by clicking on your MusicIDB.com dashboard calendar (tag your venue and make it the default venue with the checkbox)
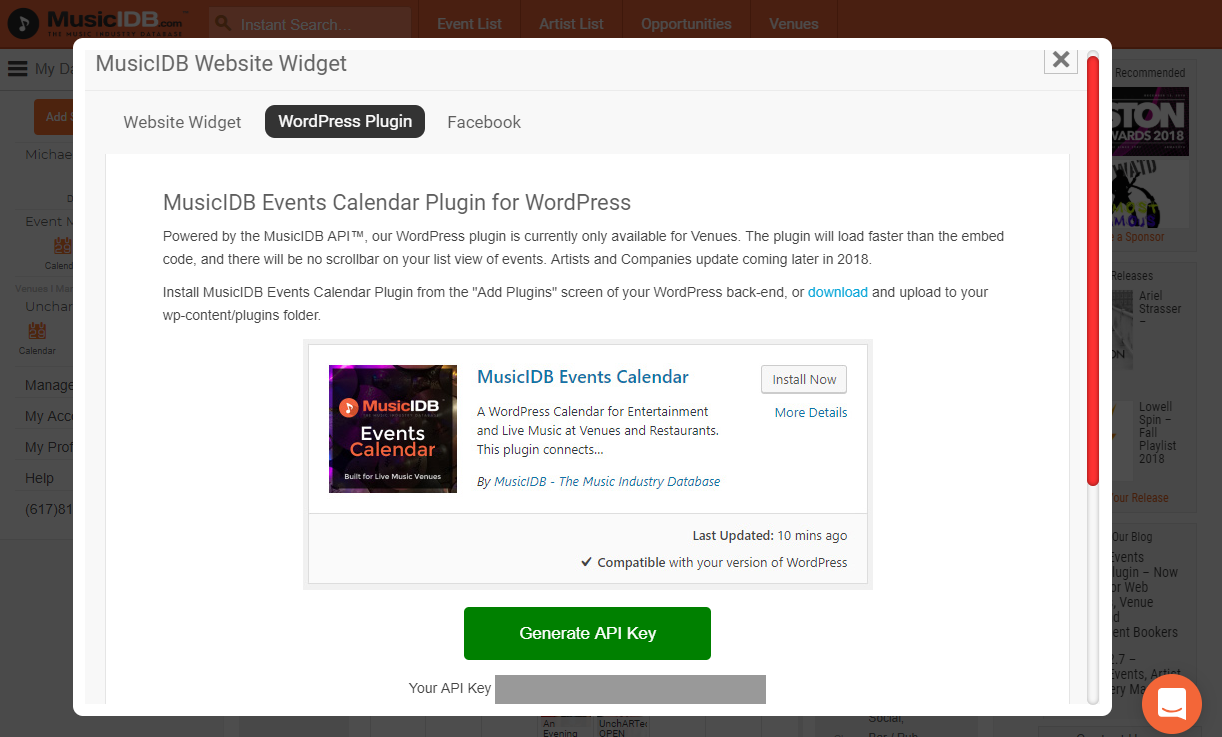
Once you receive an email that your venue claim has been approved, visit your venue’s page on MusicIDB.com (page link on left side or use search box), click “Embed Widgets”, click the “WordPress Plugin” tab (in the pop-up) and then click “Generate API Key“.
5. Configure the Plugin in Your Website
Back on your WordPress Dashboard, click on “MusicIDB Calendar” from the left side nav.
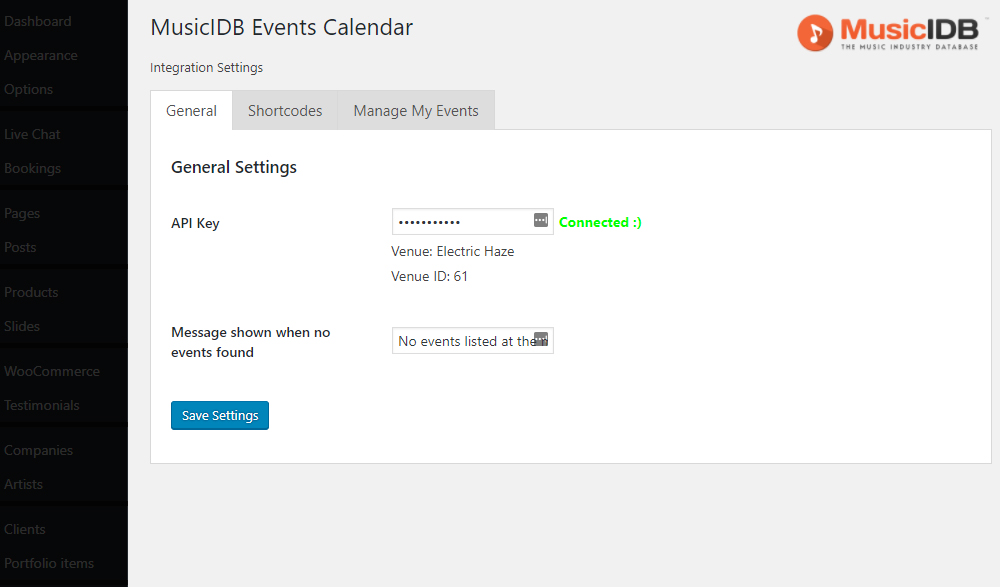
Enter your API Key, and click “Save Settings”. You should see “Connected :)” (as long as you have created at least one upcoming event on MusicIDB.com).
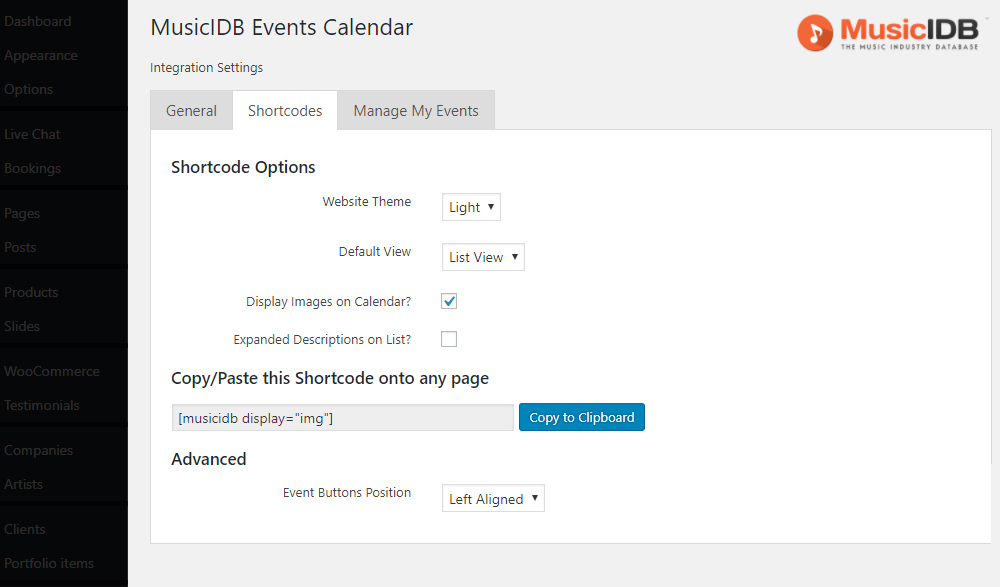
Click on the “Shortcodes” tab, and use the options to customize and generate your shortcode which can be pasted into any page through the WordPress editor.
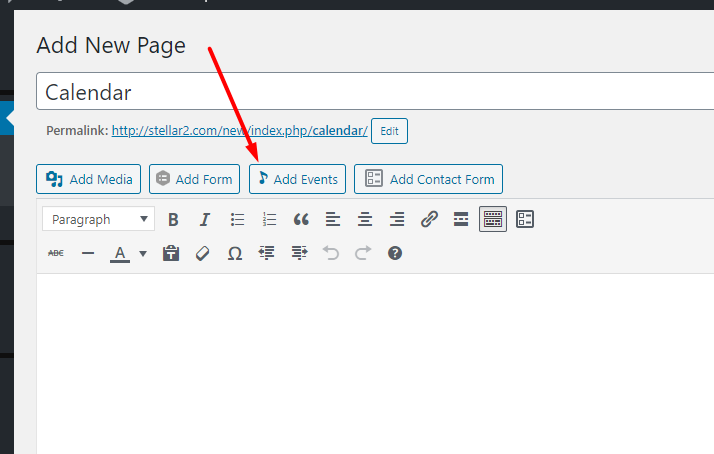
6. Drop MusicIDB Shortcode onto Your Pages


You can also use the new Shortcode Generator button above the toolbar on any page:
Don’t hesitate to chat with us if you have any questions!